Overview
Do you hate it when you open a Mixed Reality app and it asks you to “Please scan your room” first? It is very annoying for users. They just want to play!
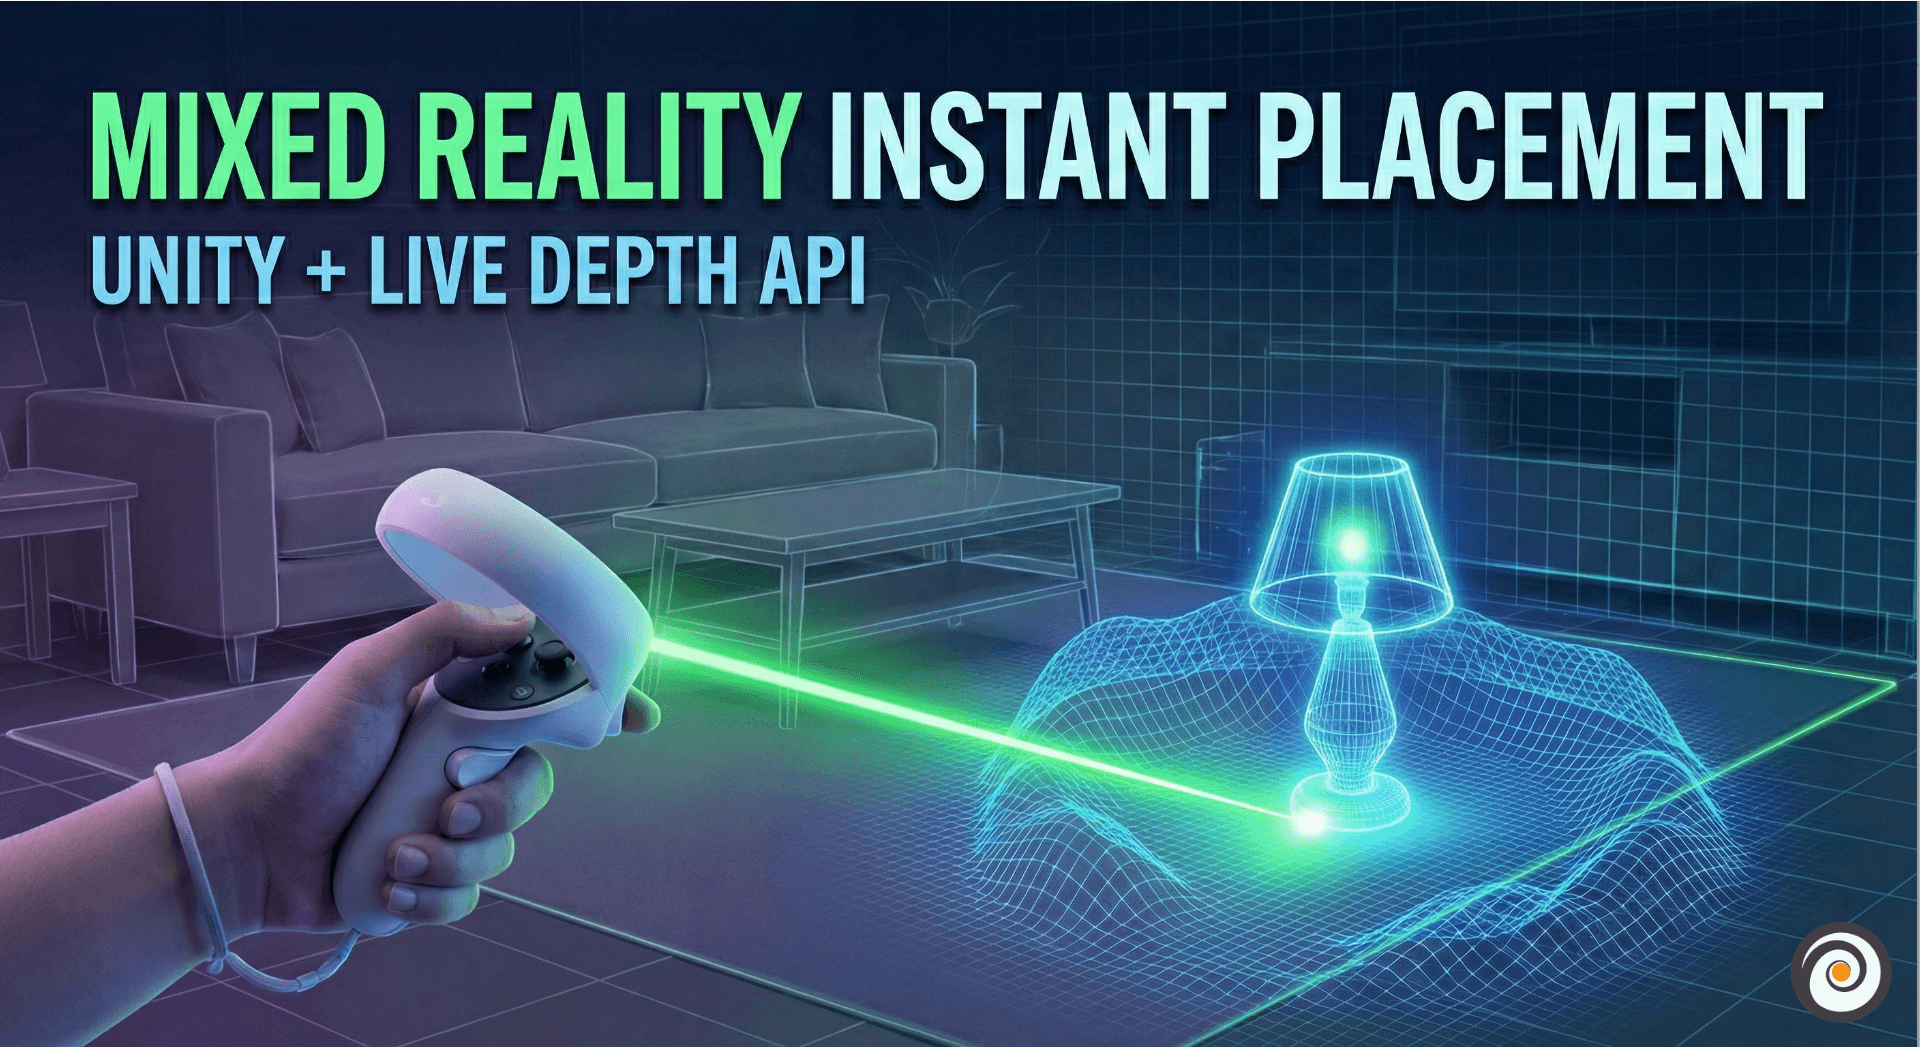
In this post, I will show you Instant Content Placement using Meta’s Mixed Reality Utility Kit (MRUK).
This feature allows you to place 3D objects on real tables or floors immediately. No need to scan the room, no need to build a mesh. Just launch and click.
Watch the Video Tutorial
How it Actually Works
Normally, the Quest needs to map your room to know where the floor is. But with Environment Raycasting, we use the “Depth Data” from the camera directly.
Think of it like this: The camera looks at a table, calculates the distance, and tells Unity, “There is a solid surface here.”
Raycast: Used for a single point (like a laser pointer).
PlaceBox: Used to check if a big object (like a box) fits in that space without hitting a wall.
One Big Limitation:
Because this uses the live camera, it only works on things you can see. You cannot place an object behind you or in the next room. If the camera can’t see the surface, the raycast will fail.
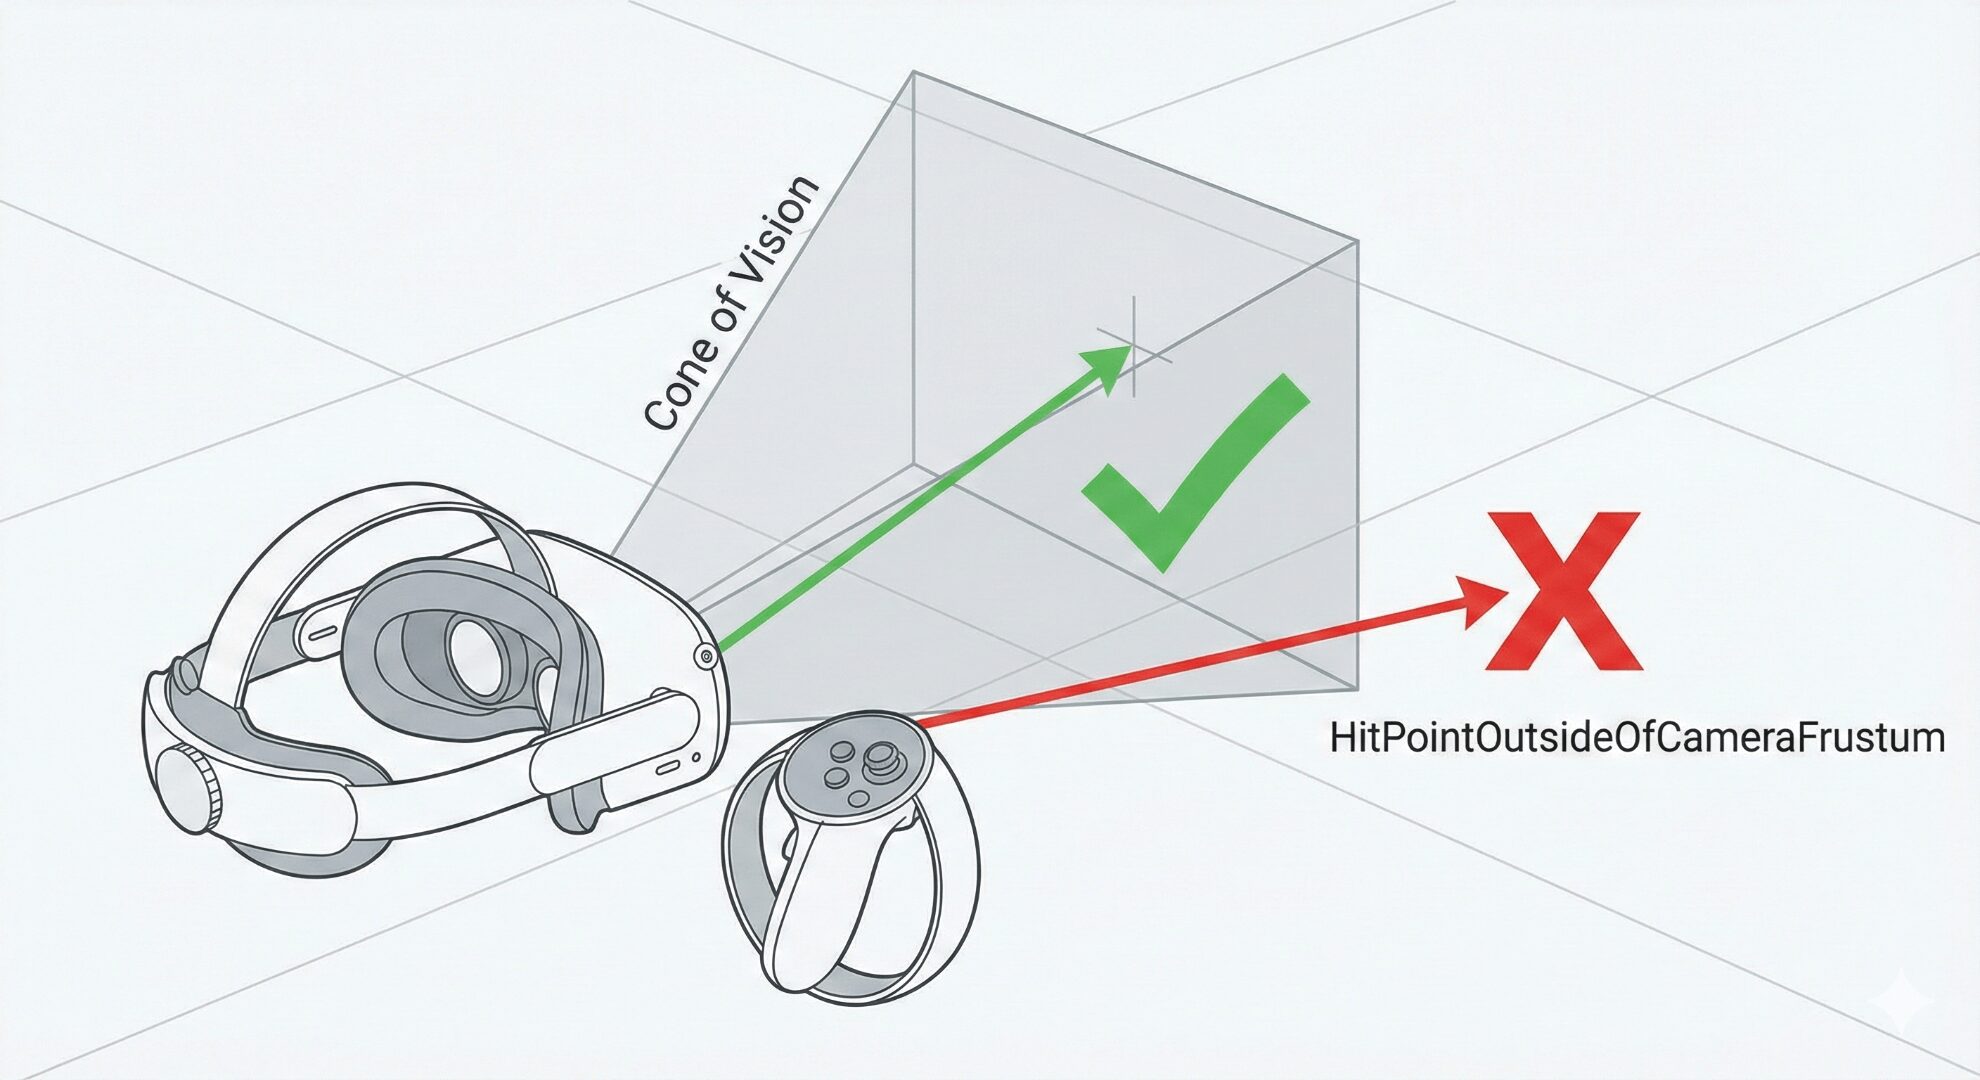
The raycast only returns a hit if it is within the camera frustum (the green check). Rays outside the current view (the red X) will return HitPointOutsideOfCameraFrustum.
Requirements
Before starting, check these things:
Headset: Meta Quest 3 or 3S (Because we need depth sensors).
Unity: Version 2022.3 or newer.
MRUK SDK: Version 71 or higher (I suggest v81 or newer).
Good News (v81+): If you use MRUK version 81, the setup is very easy. You don’t need the
EnvironmentDepthManageranymore. It happens automatically.
Step-by-Step Guide
1. Scene Setup
Set up MRUK as usual (Basic setup).
Create an empty GameObject in your scene.
Add the component called
EnvironmentRaycastManager.Open the Project Setup Tool (PST) and click “Fix All” to remove errors.
2. The Script
Make a new C# script named InstantPlacementController.cs. Copy this code:
C#
using Meta.XR;
using UnityEngine;

public class InstantPlacementController : MonoBehaviour
{
    [Header("Setup")]
    // Drag your Right Controller Anchor here (from OVRCameraRig)
    public Transform rightControllerAnchor;

    // The object you want to spawn (like a Cube prefab)
    public GameObject prefabToPlace;

    // Drag the object with EnvironmentRaycastManager here
    public EnvironmentRaycastManager raycastManager;

    private void Update()
    {
        // When we press the Right Index Trigger
        if (OVRInput.GetDown(OVRInput.RawButton.RIndexTrigger))
        {
            // Create a ray shooting forward from the hand
            var ray = new Ray(rightControllerAnchor.position, rightControllerAnchor.forward);
            TryPlace(ray);
        }
    }

    private void TryPlace(Ray ray)
    {
        // Check if the ray hits the real world
        if (raycastManager.Raycast(ray, out var hit))
        {
            var objectToPlace = Instantiate(prefabToPlace);

            // Set position to where the ray hit
            // Set rotation so the object sits flat on the surface
            objectToPlace.transform.SetPositionAndRotation(
                hit.point,
                Quaternion.LookRotation(hit.normal, Vector3.up)
            );

            // OPTIONAL: Prevent "Drifting"
            // If you are not using World Locking, the object might move slightly.
            // This anchors it to the real world spot.
            if (MRUK.Instance?.IsWorldLockActive != true)
            {
                 objectToPlace.AddComponent<OVRSpatialAnchor>();
            }
        }
    }
}
3. Why we use “LookRotation”
In the code, I used Quaternion.LookRotation(hit.normal, Vector3.up).
Why? Because real-world surfaces are not always perfectly straight. If you put a virtual box on a slanted ramp or a sofa arm, you want it to sit flat on that surface, not float in the air. This code aligns the object to match the surface angle.
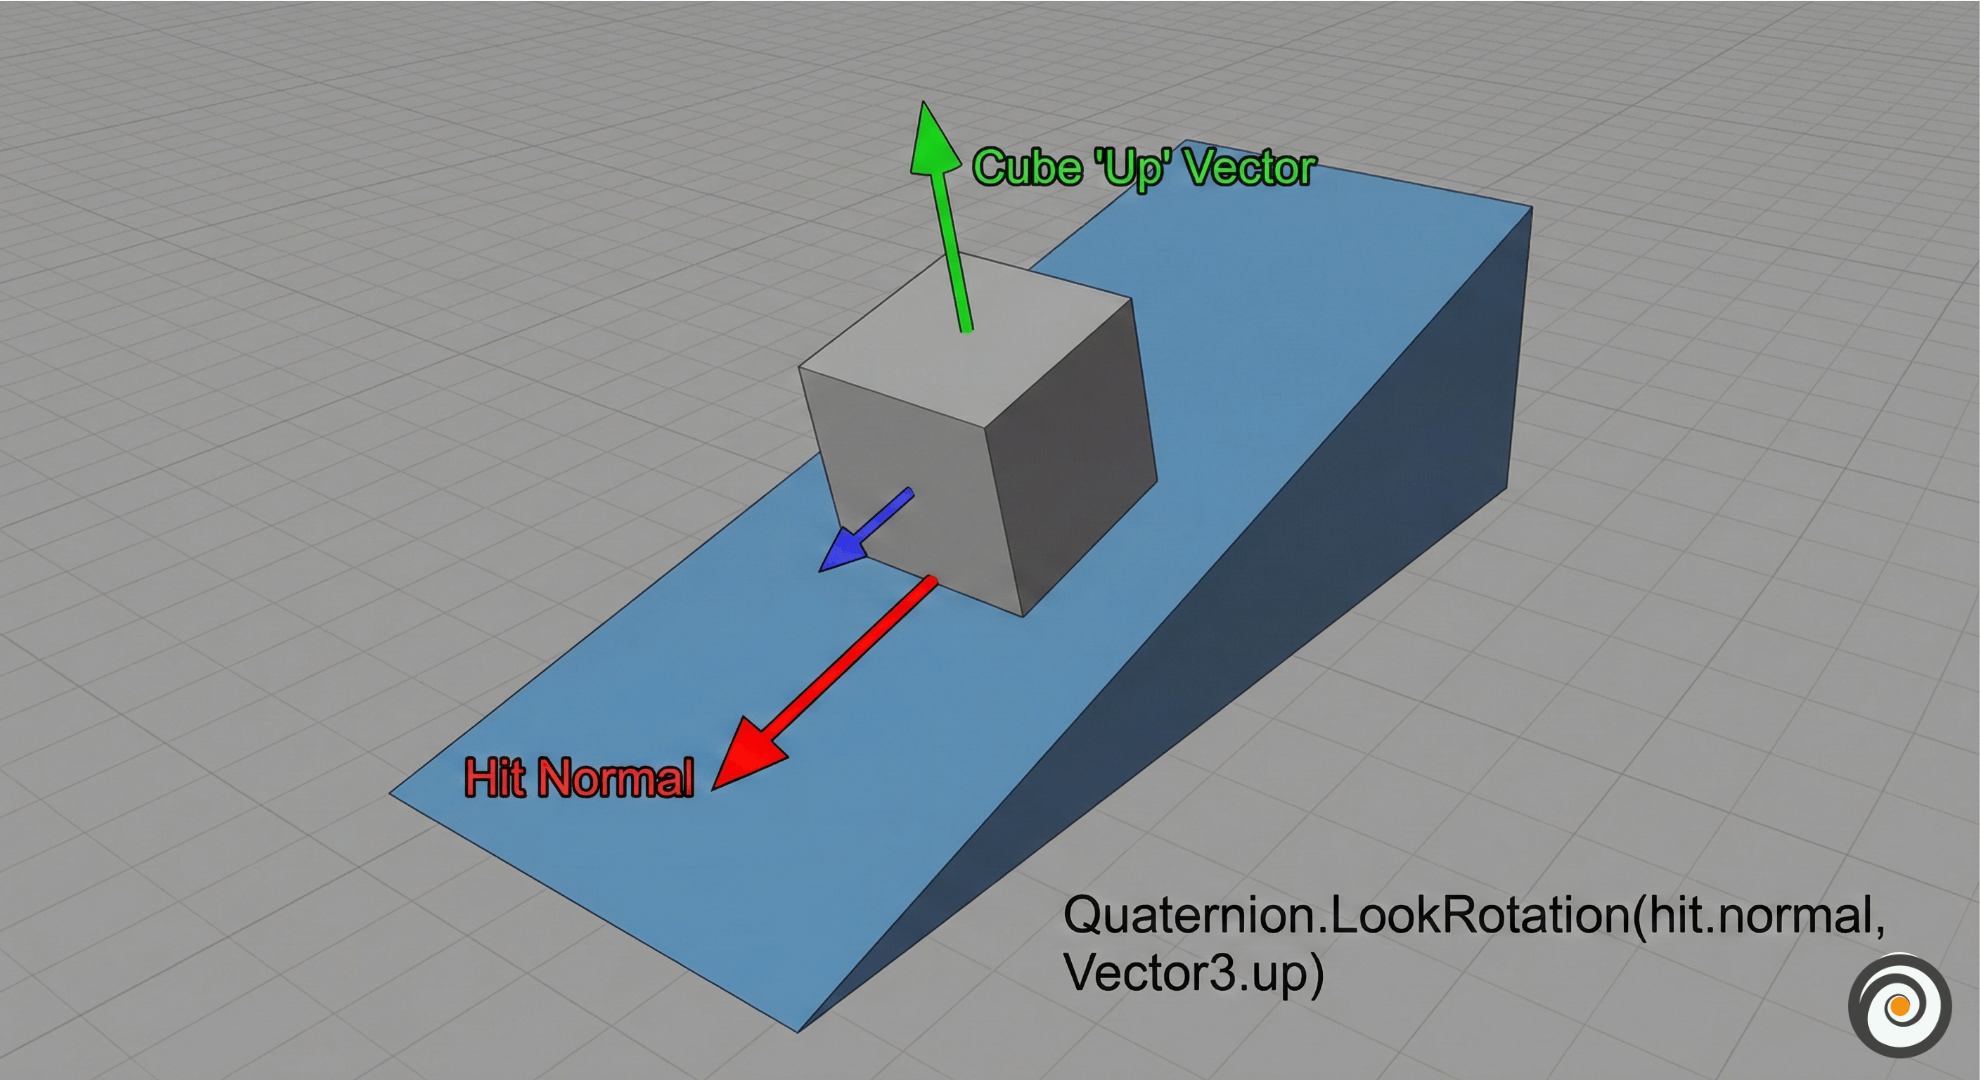
See how the cube matches the slope? This is done using the Hit Normal.
When to use PlaceBox?
In my code, I used Raycast. This is fine for small things.
But if you are placing a big item, like a virtual TV or a Chair, you should use PlaceBox.
PlaceBox checks if there is enough space for the object. It makes sure your virtual chair doesn’t go inside a real wall.
Read the Official Docs:
For more details, you can check the official Meta page here:
Official Meta Documentation: Environment Raycasting
Conclusion
Instant placement is a game-changer. It removes the boring setup part and lets users enjoy Mixed Reality instantly.
If you have any doubts, ask me in the comments. Happy coding!