Let’s be honest: the first time you open up a shader editor, it feels a bit like looking at an alien control panel. Whether you are wiring nodes together or writing custom code, shaders can feel like dark magic.
But beneath all those glowing water ripples, dissolving enemy meshes, and shimmering holograms, there isn’t magic. There is just math.
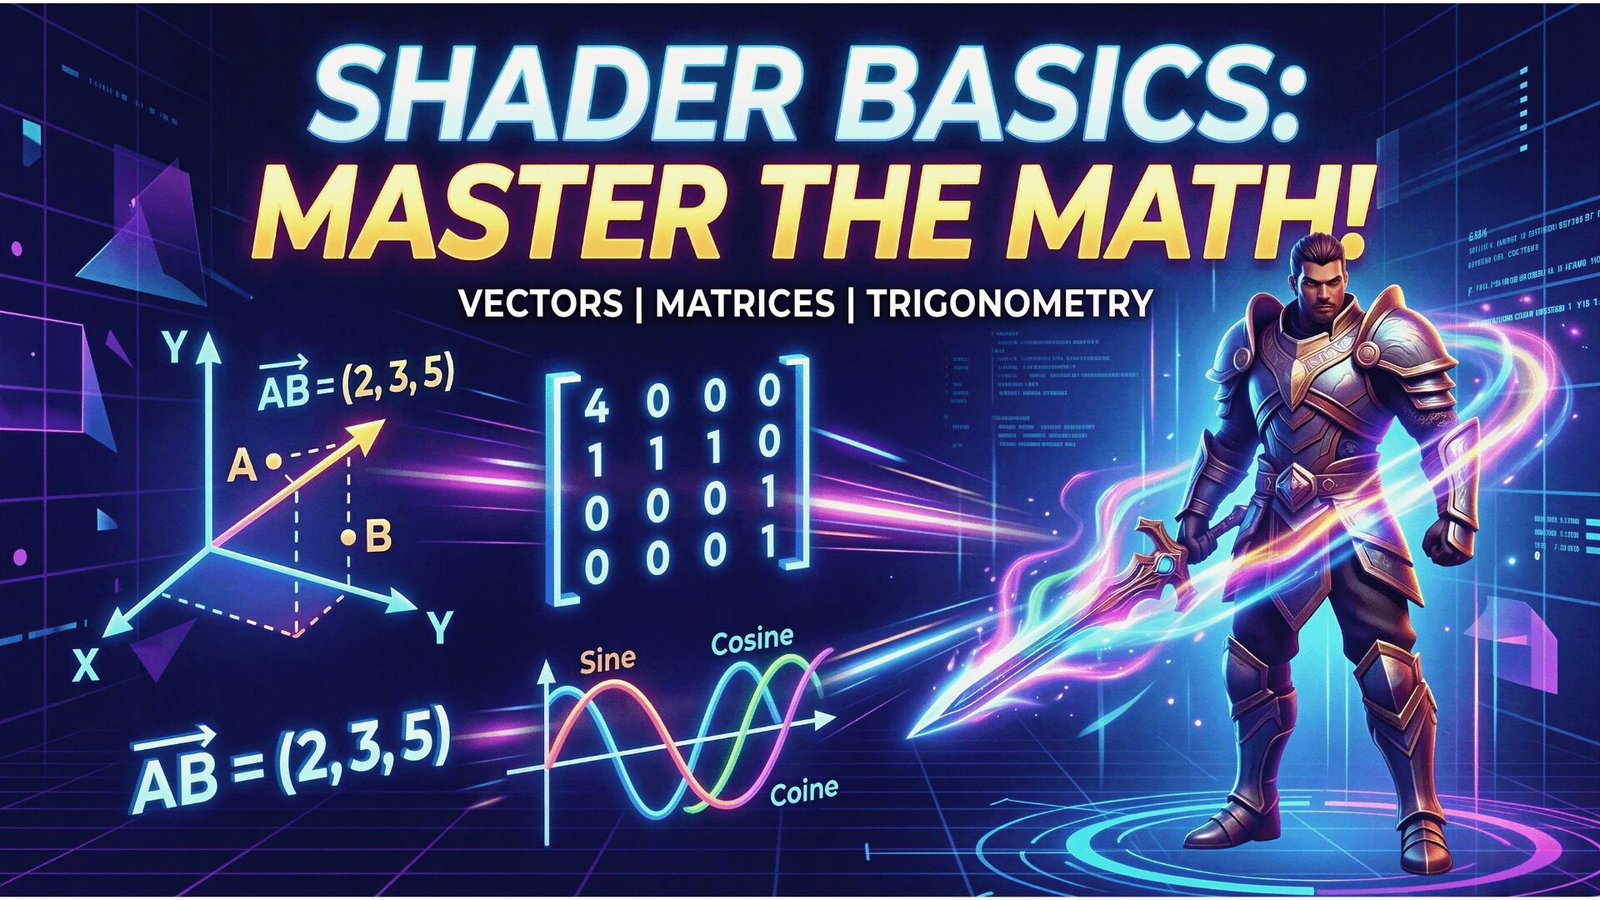
You don’t need a PhD to write great shaders, but you do need to be comfortable with a few core concepts. If you want to stop blindly copying node setups and actually understand why your materials look the way they do, you need to master three pillars: Vectors, Matrices, and Trigonometry.
Let’s break them down using real-world game development scenarios.
1. Vector Mathematics: The “Where” and “Which Way”
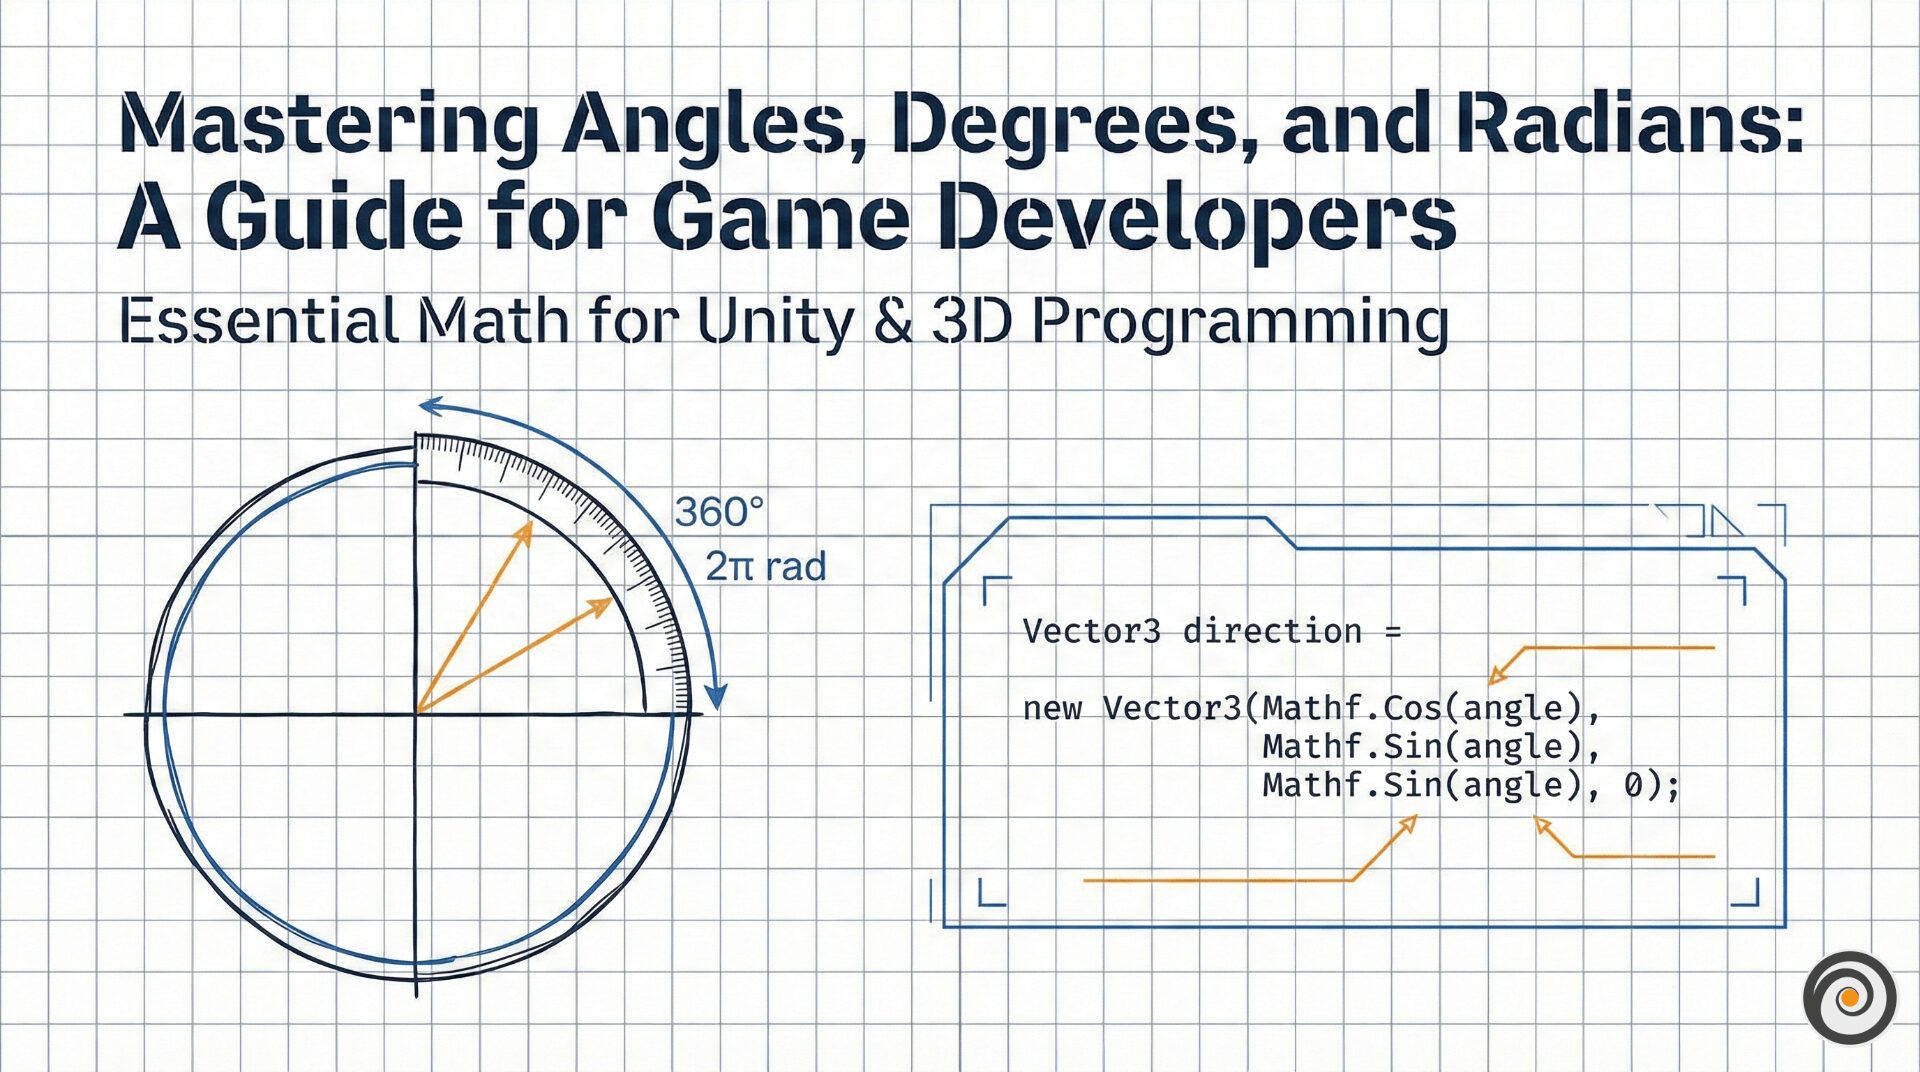
In standard programming, a float or an integer holds a single value. In shader programming, a vector is a package of data that tells us two things: magnitude (how much) and direction (where to).
You’ll see them constantly as 3D vectors containing X,Y, and Z values. In game engines, we use vectors for almost everything spatial.
Positions vs. Directions
A vector can represent a specific point in 3D space (like the exact location of a vertex on a 3D model) or it can represent a direction (like the way a surface is facing, known as its Normal).
For example, if you want to create a classic “cel-shaded outline” effect, you need to grab the position vector of every vertex on your model and push it slightly outward along its Normal direction vector.
The Secret 4th Dimension: The w Component
Because a vector (x,y,z) can be either a position or a direction, the GPU needs a way to tell them apart when it calculates movement. To solve this, shaders use a fourth component called w.
Positions get w=1: This tells the engine, “This is a physical point in space. If the object moves, move this point with it.”
Directions get w=0: This tells the engine, “This is just a direction.” If your VR player looks “North,” and then walks 10 feet to the right, their look direction is still “North.” Setting w to 0 guarantees that moving an object doesn’t accidentally mess up its lighting or facing directions.
2. Matrix Mathematics: The Space Benders
If vectors are your data, matrices are the tools you use to bend that data to your will.
A matrix is essentially a grid of numbers used to perform transformations—scaling, rotating, and translating (moving) objects. If you’ve ever dragged an asset from your content browser into your scene and scaled it up, you were using matrix math under the hood.
Why do we need them in shaders?
Imagine you modeled a custom sci-fi weapon. The vertices of that model are saved locally relative to the weapon’s own center point (Local Space). But to render it on screen, the GPU needs to know where those vertices are in the game world (World Space), where they are relative to the player’s camera (View Space), and how to squash them onto a flat 2D monitor or VR headset display (Projection).
Instead of doing a hundred different math problems for every single vertex, we pack the rotation, scale, and position data into a 4×4 Matrix. By simply multiplying a vertex’s vector by this matrix, the GPU instantly transforms the model from its raw local data into the fully rendered object you see on screen. It’s the ultimate shortcut.
3. Trigonometry: The Heartbeat of Shaders
If matrices place an object in the world, trigonometry breathes life into it. Trig functions are the secret ingredient to anything that needs to pulse, wave, or animate over time without relying on complex keyframe animations.
Riding the Wave
The true workhorses of shader trig are the Sine (sin) and Cosine (cos) functions. When you feed a constantly increasing value into them (like the Time node in your engine), they output a smooth, continuous wave that bounces back and forth between −1 and 1.
Real-World Example: The Glowing Power-Up Let’s say you have a health pack, and you want its glowing emission to throb smoothly. If you plug the current game time directly into the emission intensity, it will just get brighter and brighter until it blows out.
Instead, you pass the time through a Sine wave. Now, the value smoothly rises and falls. If you want it to pulse between an intensity of 0 and 2, you simply write:
Intensity=cos(Time)+1
Because cos bottoms out at −1, adding 1 shifts the entire wave up. Voila! You have a perfectly looping animation driven entirely by one line of math, running incredibly fast on the GPU.
Putting It All Together
These three concepts are the foundation of everything from simple color tints to mind-bending mixed reality portal effects. Once you stop seeing them as intimidating math equations and start seeing them as your primary developer tools, the entire rendering pipeline opens up to you.